Tuesday, October 31, 2017

Thinking of You


Hi crafty friends and welcome back to our crafty space.
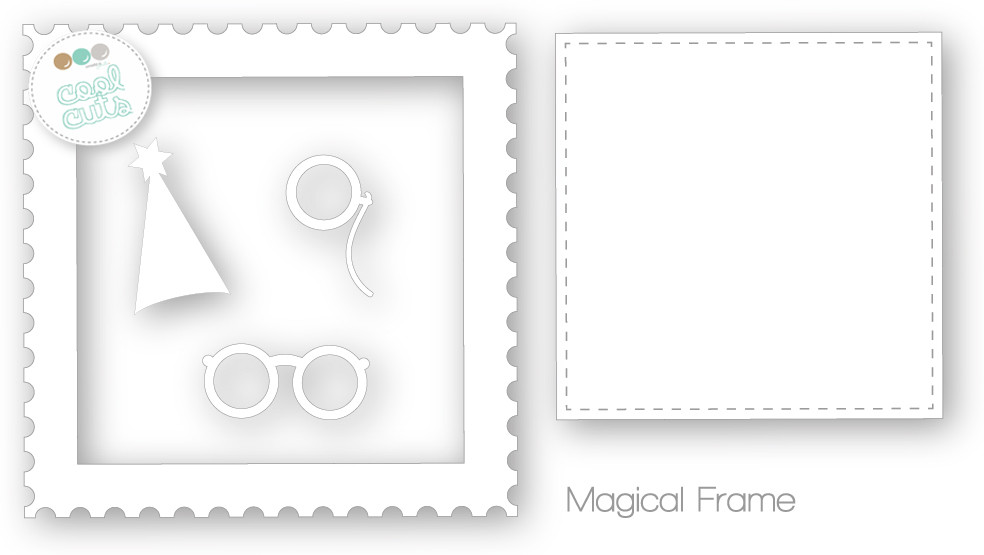
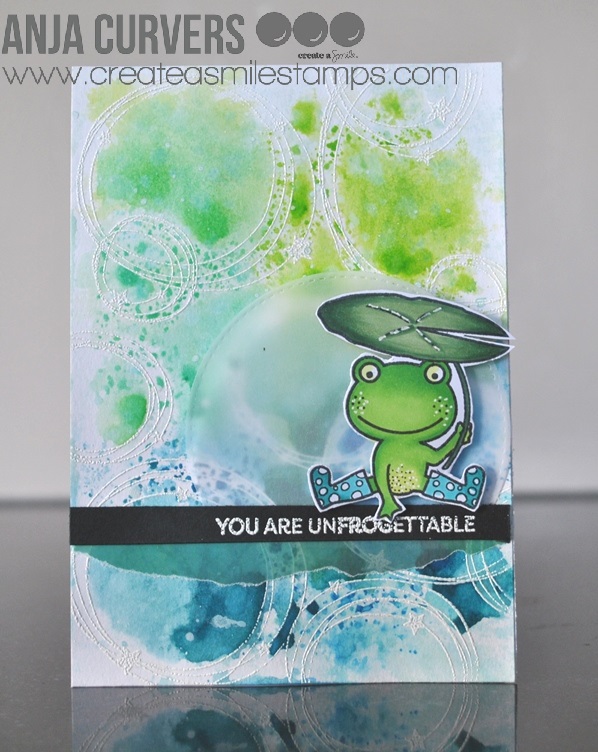
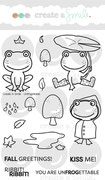
Raluca here with a new card showcasing the "Cart full of treasures" stamp set from Create a Smile Stamps.


I'm in love with these cute koalas so I enjoy coloring them and playing with them. You can create so many scenes and you can color them in so many different color combos.

First I stamped the images and colored them using Nuvo markers and then I fussy cut them. Next, I stamped the sentiment on a white panel and then I die cut a square. I ink blended some Peacock Feathers Distress Ink on it and glue it to the panel and added a die cut square frame. I'll link to a beautiful square die from Create a Smile down below.
I added everything to the panel and my card was done! Such an easy card to make and such a lovely result!


There is currently a MAIL CALL!!
We just LOVE our new office, but some more decoration would be nice... Would you like to create a smile on our faces and also see YOUR card displayed in our headquarter?
We'd love to receive some beautiful projects using Create A Smile products.

Please send them to:
Create A Smile
Merremstr. 21
47053 Duisburg
Germany 
We'll of course be sharing the received projects - on Instagram, Facebook and on our blog! 

Have a lovely Tuesday!
Thanks for stopping by,
Raluca

Monday, October 30, 2017

You are unfrogettable........

I hope you liked our last new release as much as we all did and guess what we are on our way to another great new release in November, how time flies.


When I first saw this stampset I knew I had to make a card with it but when I got it I couldn't think of a design so I started with the background and then the card was build up rather quick. I just love these images.
 
As I mentioned before I started with the background. I used some watercolor paper and stamped the cling stars and scribbles stamp with watermark ink and white heat embossed it.
Smooched some distress ink onto a transparancy sheet and spritzed some water. I placed the heatset cardbase upside down onto the sheet and let the water, paper and ink do it's work.
I dried the paper with my heatgun and gave it another round onto the sheet.
Dried it again and took the dots cling stamp and spritzed water on it and palced it onto the background. In the picture it is hard to see but you get the dots pattern after drying.
I stamped the frog and colored it and cut it. Diecut a circle out of vellum and a strip out of black cardstock after white heatembossing the sentiment.
For some extra interest I used some green colored vellum underneath the sentimentstrip.
 
 
Stamps;
Cling stamps;


Did you see the shipping rates? and please visit us on Facebook, instagram and on the blog, you will find so much inspiration over there.
 

That's it for today I hope you like it and have a great week, see you next week with more inspiration.

Hugs Anja

Sunday, October 29, 2017

Just A Little Thanks

Sometimes, a simple, thank you card is what you need in a moments notice. For this card, you can make variations and repeats to keep in your stash so that you can give it out whenever you need. 
Read on :) 


Starting by stamping down the flowers and leaves on a watercolour paper. I've coloured them with Prima Watercolour and cut them out. Tip : While you're doing this anyway, stamp more flowers and cut them out while watching your favourite TV show to stick them on several card bases. 


Die-cut the "thanks" die to stick it over the flowers. To add some embellishments, I've used Ranger White enamel to drop down those white dots. It gives get shine and dimensions. With this, you can even back bigger and/or smaller dots. 


Prima Watercolours
Ranger White Enamel

Follow Create A Smile on Facebook keep yourself updates on all the happenings and if you're an Instagram addict like I am, you can follow Create A Smile using this name : @createasmilestamps ! :)


Thanks for stopping by,

Friday, October 27, 2017

A Magical Christmas Background

Hi there!
Samantha with you today, sharing an easy, fun and magical Christmas card! 


*swoon* that scripty font is just GORGEOUS!! I had to try to make a background worthy for it! 


Let's make this card!

- on a piece of cardstock, add watercolor! (I used Ken Oliver Color Bursts to create that beautiful turquoise color!)
- set aside to dry
- heat emboss the scripty word onto a piece of vellum and fussy cut 
- also heat emboss the rest of the sentiment onto a piece of black cardstock


- once the background is dry, use your stencil and two colors of embossing paste! (I used gold and white and LOOOOVE how it looks!)

- attach the phrases to the card


I love combining two different embossing pastes together! the tranisitons from gold to white add so much magic and fun! Just be sure not to contaminate the containers of embossing pastes together! Ha! 


I am in LOOOOOVE with the scripty font of the Christmas Surprise stamp set! I combined it with a small phrase from the Cool Buddies stamp set! I used the Waves of Snowflakes stencil in white and gold embossing paste! 


We want your opinion!!! Should the Create a Smile Shop also carry basic stamping supplies like acrylic blocks and ink? We want to know what YOU want!! Hit us up with your opinions!

~Samantha


Thursday, October 26, 2017

wundervolle Weihnachtszeit

Hello everyone, Nicole here.

I have my first christmas card for 2017 for you today. 


I was not in the mood for christmas cards, but hey, you got to start someday, right?! So I picked one of the cutest santas I've ever seen and some of my favorite colors and BAM, let the christmas cardmaking begin! :-)


  1. stamp the background on your panel
  2. stamp santa and his presents on a piece of paper, color them and cut them out
  3. arrange santa and his sleigh on your panel to see where your greeting should go
  4. stamp the greeting
  5. adhere santa and the presents with some foam tape
  6. add a bit of shine with a glitter pen

Since I need a lot of christmas cards, I like to keep them clean and simple. I love to use an easy peasy "go to recipie": backgroundstamp, cute critter and a pretty sentiment.


snow dance mini / zum Feste das Beste / dots

There are a lot of fun christmas stamps in the shop! AND some of the stamp sets are on SALE Check it out!


Thanks for stopping by!
Have a wonderful day :-)

Wednesday, October 25, 2017

one layer hello card

Hello crafty friends, Nicole here.

Anni is on vacation and I'm taking over her Wednesday post but she will be back soon with her amazing creations. :-)


I wanted to challenge myself with a one layer card and the fun stamp set "just saying hello".


  1. Take some sentiments you like and arrange them on your card base. 
  2. Chose a color palette. I chose a rainbow minus the green and yellow.
  3. Stamp color after color and clean your stamps well after each use. I started with the big hello and worked my way up and down the card base.
  4. I just stamped a tiny heart for the finishing touch and covered it with Glossy Accents.


Sometimes planning the card needs more time than actually making it but after that, you could easily make a bunch of identical cards.


just saying hello / in bloom


There are lots and lots of great sentiment stamps in the Create A Smile Shop! Here are just some of them...

Thanks for stopping by!
Have a colorful day :-)
Nicole